Aesthetics · prosthodontics
Shade matching
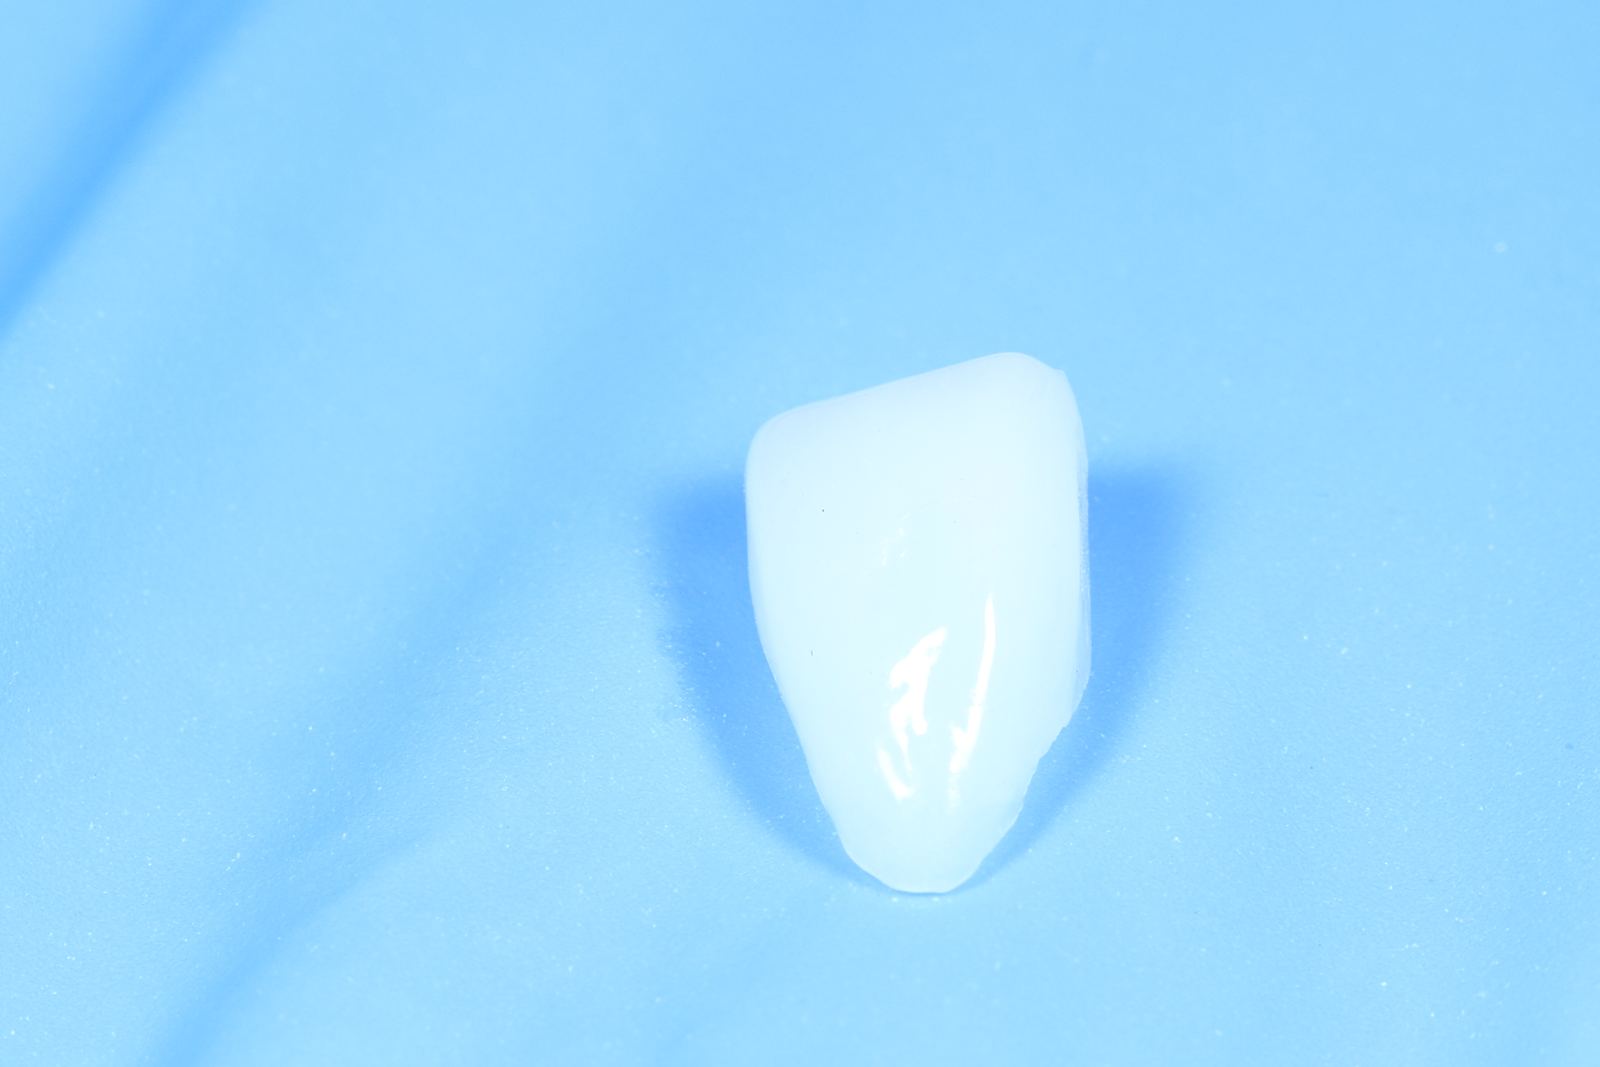
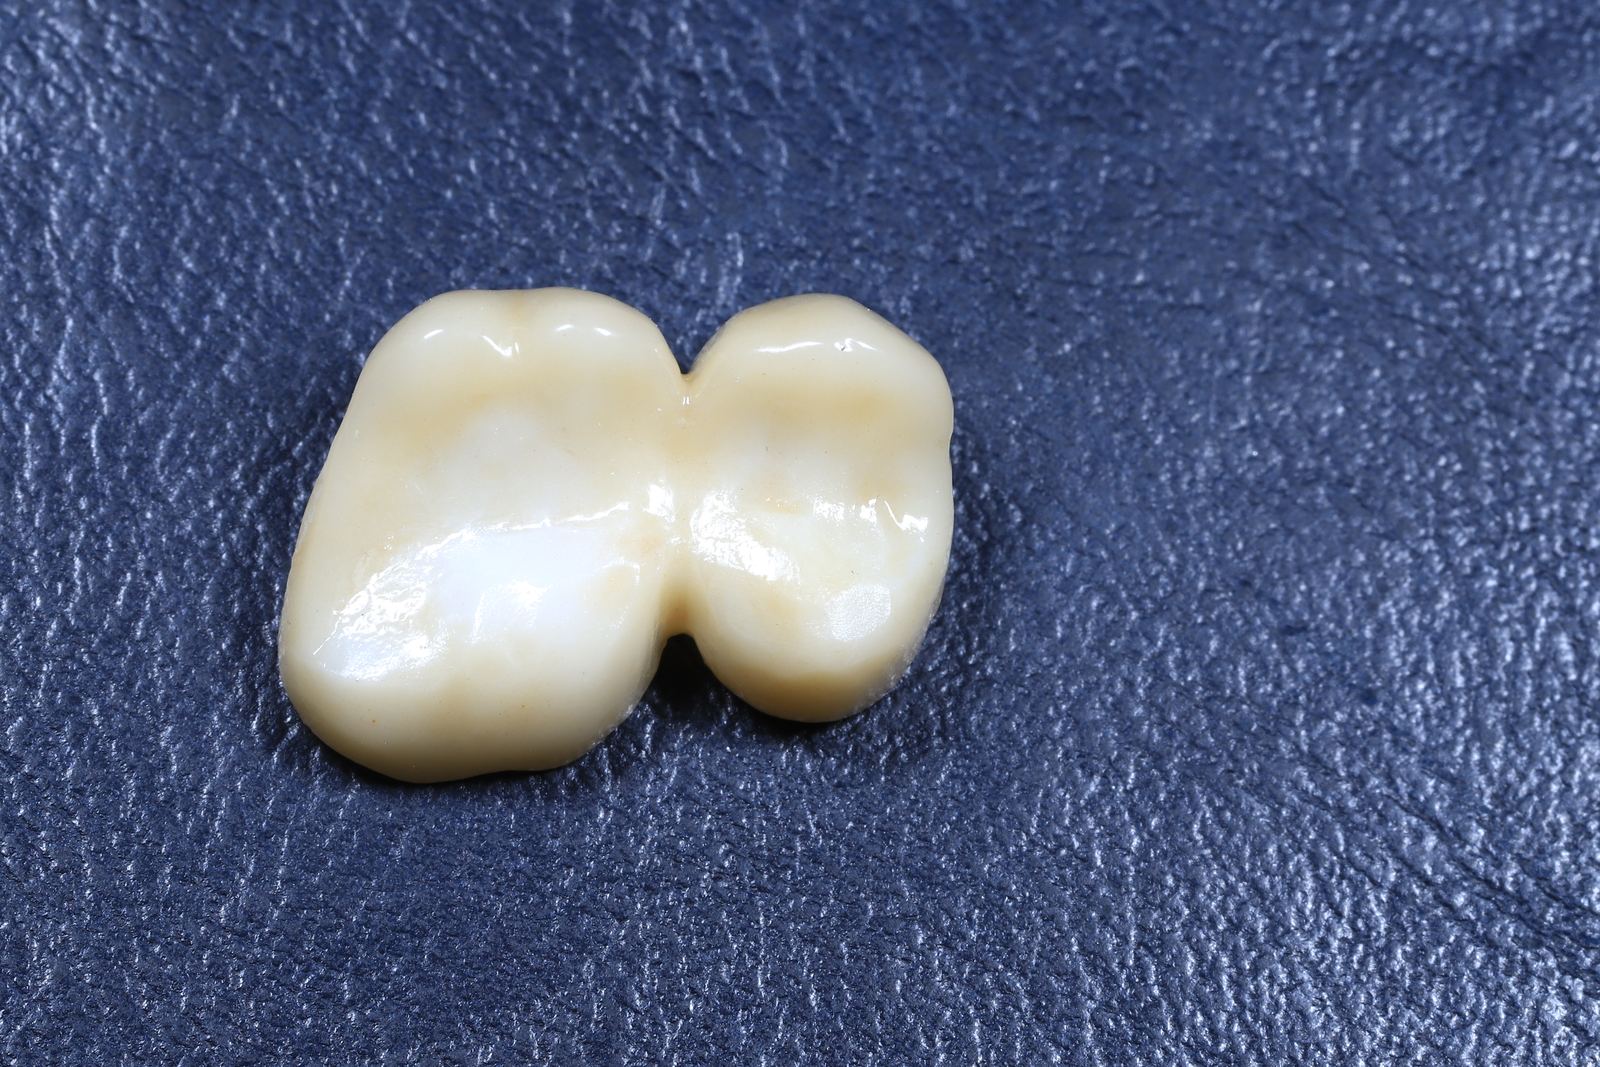
So that a crown, veneer or filling does not differ from your own teeth, the shade is matched against a shade guide — before fabrication and once more at the try-in.
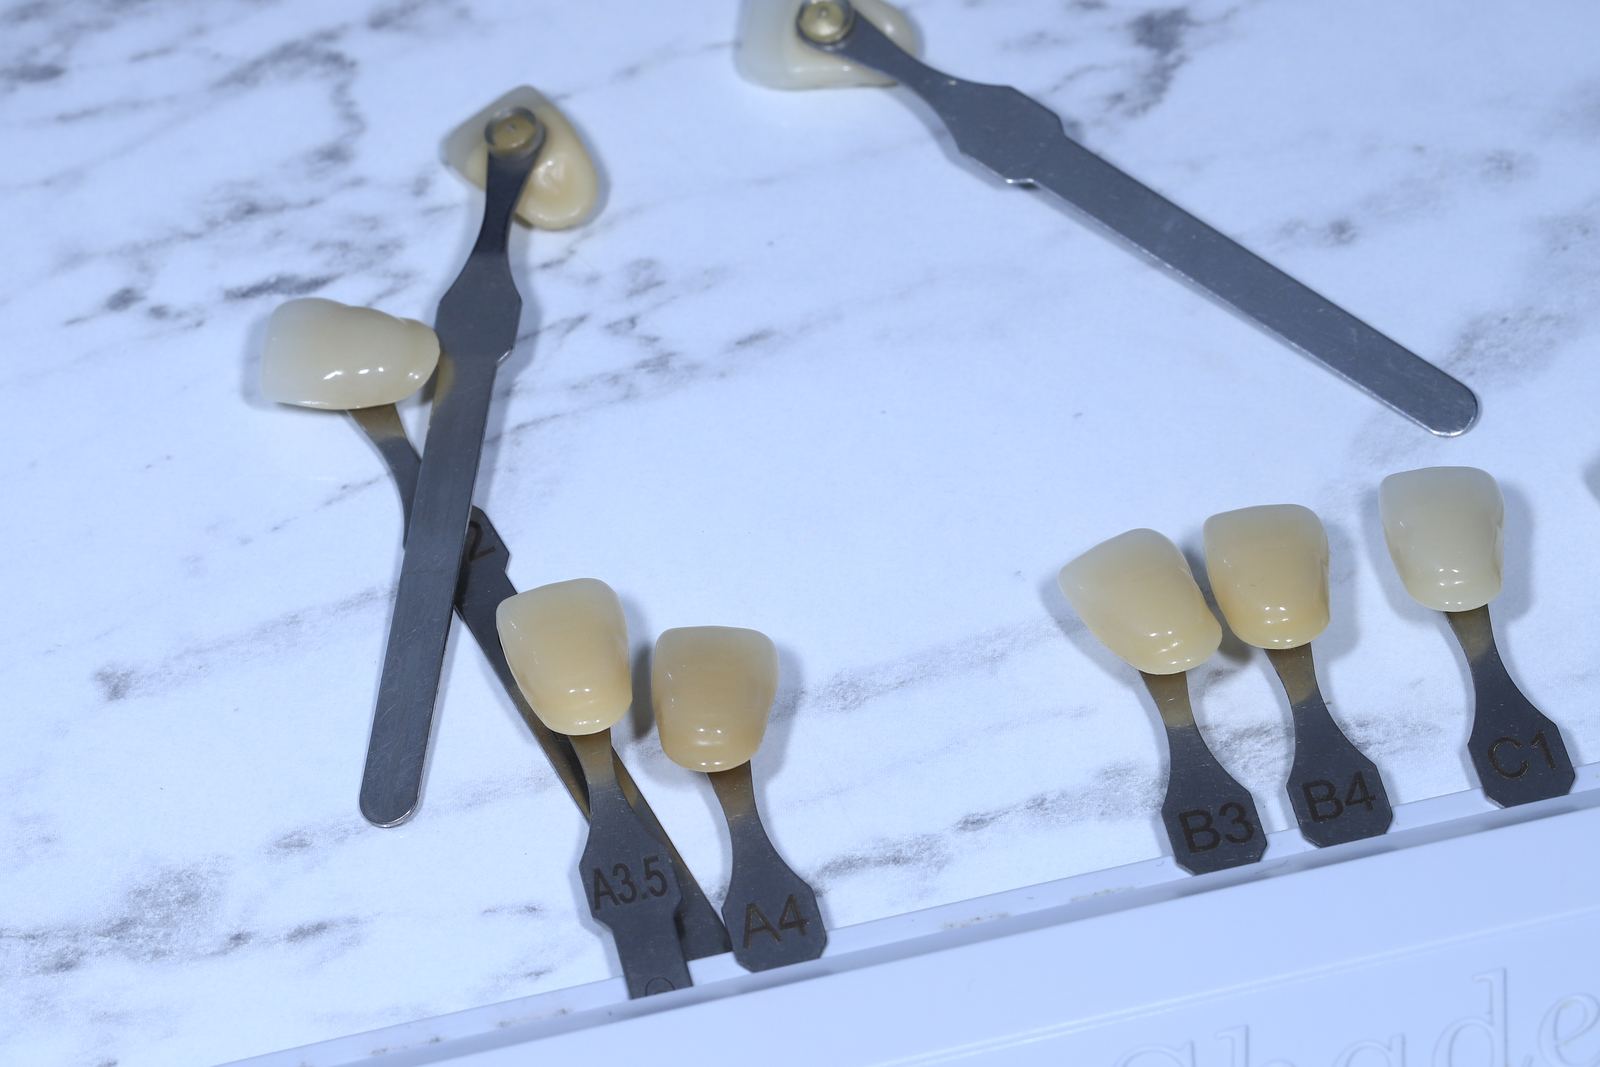
- 16 shadesin the classical shade guide: groups A–D and chroma 1–4
- BLseparate shades for whitened teeth
- Photoa photo with the shade guide goes to the technician in the laboratory
01 / What it is
How the shade guide works
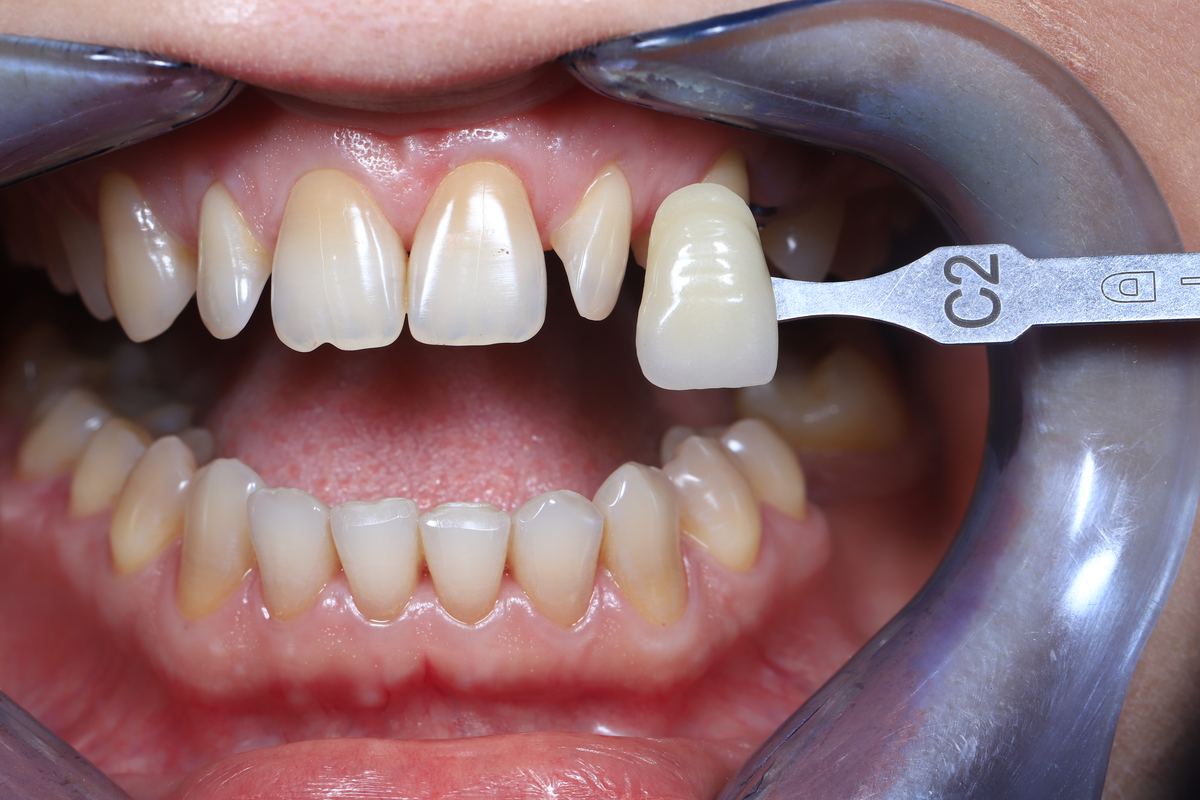
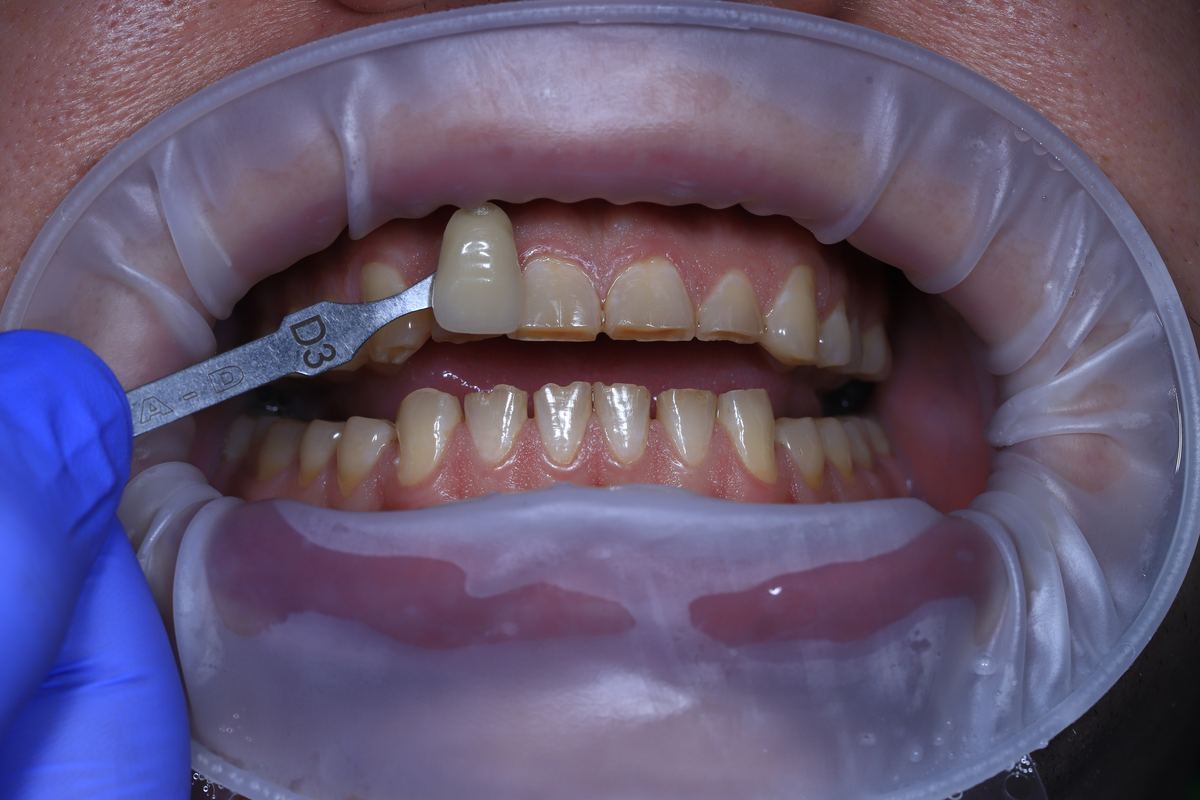
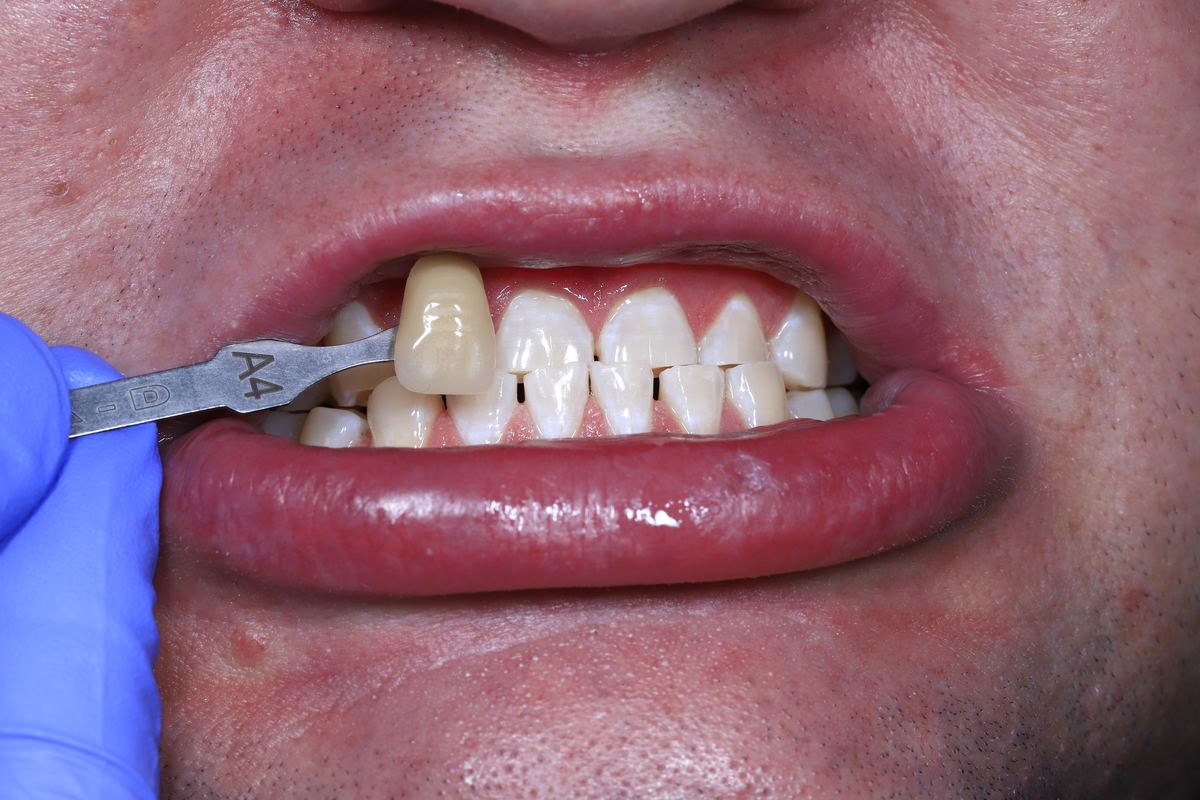
A shade guide is a set of ceramic tooth samples. The letter is the colour group: A — reddish-brown, B — reddish-yellow, C — greyish, D — reddish-grey shades. The number is the chroma: the higher it is, the darker the shade.
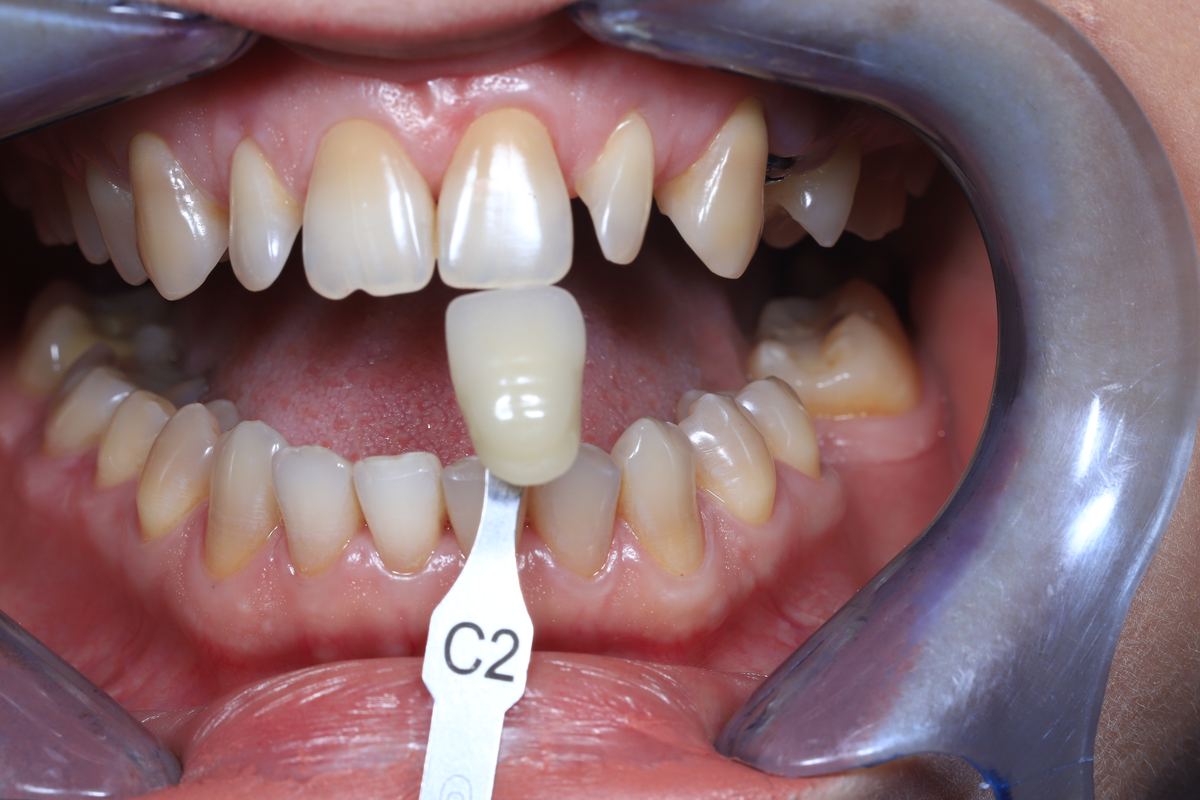
The sample is held against a tooth of the same type and compared in good lighting. For whitened teeth there are separate, lighter shades — BL.
When shade matching is done
- Veneers and crowns — the colour is agreed before fabrication
- Crown on an implant — matched to the neighbouring teeth
- Restoration of front teeth with composite
- Whitening — the shade is recorded before and after
There is no separate “shade matching” item in the price list: the shade is matched as part of the treatment that requires it.
02 / Stages
How treatment goes
-
Stage 01
At the start of the visit
The shade is matched while the teeth are moist: enamel that has dried out during the work looks lighter and can distort the result.
-
Stage 02
Comparison with samples
The samples are held against the tooth one by one and the closest colour group is chosen.
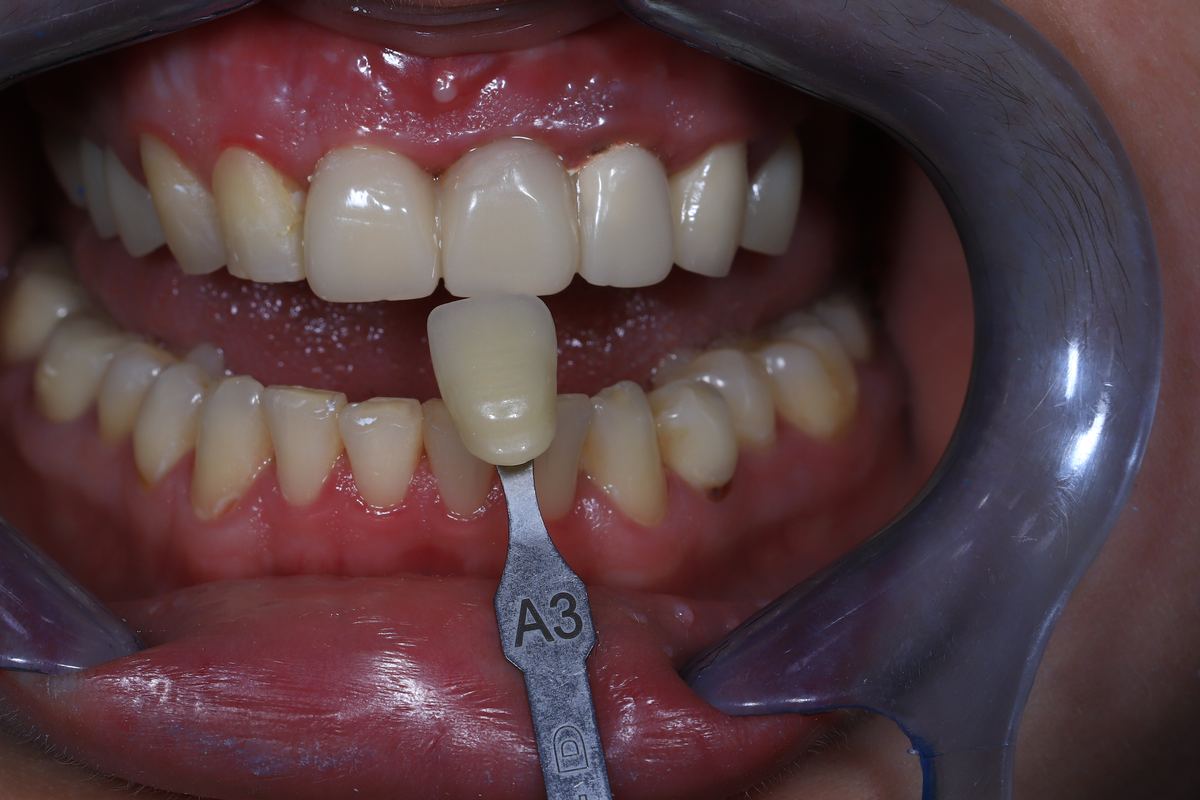
The sample is held against a tooth of the same type -
Stage 03
Choosing between close shades
Several adjacent samples are compared at the same time — this makes the difference easier to see.
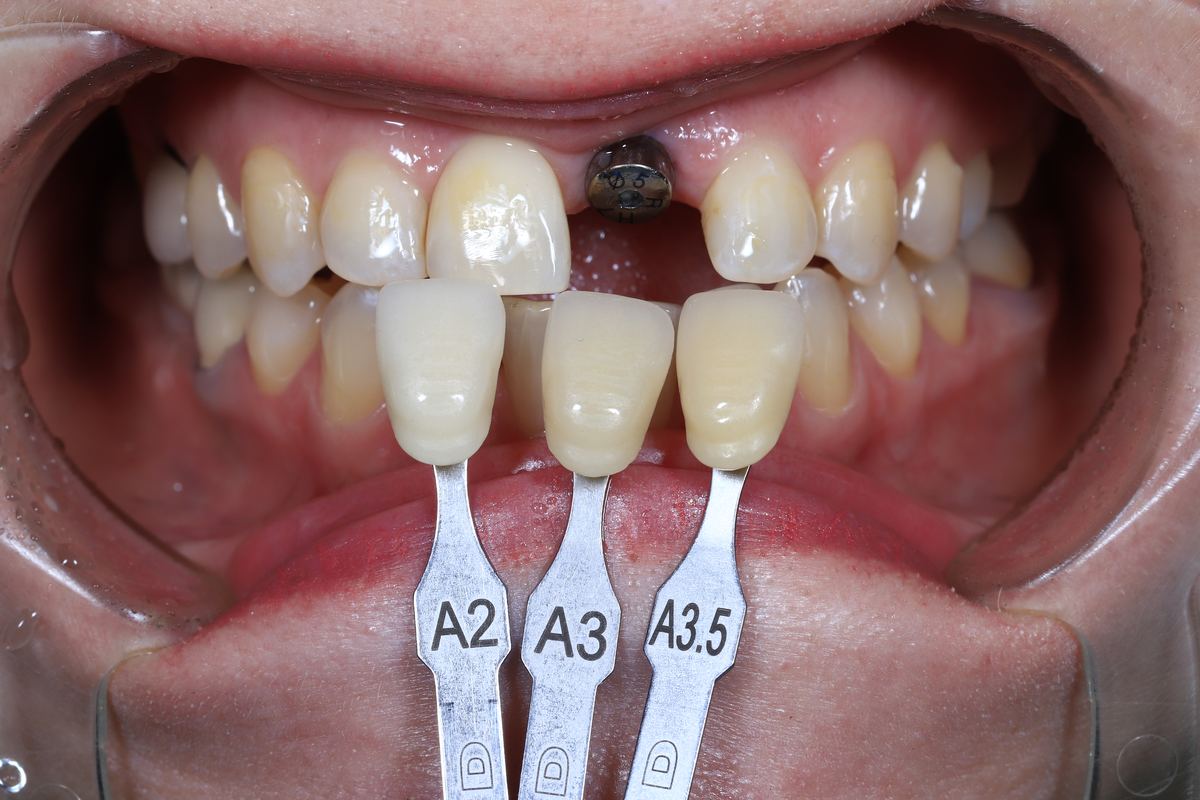
Comparison of adjacent shades: A2, A3, A3.5 -
Stage 04
Photo for the laboratory
The tooth is photographed together with the sample. The technician does not see the patient — the photo helps convey the shade more accurately.
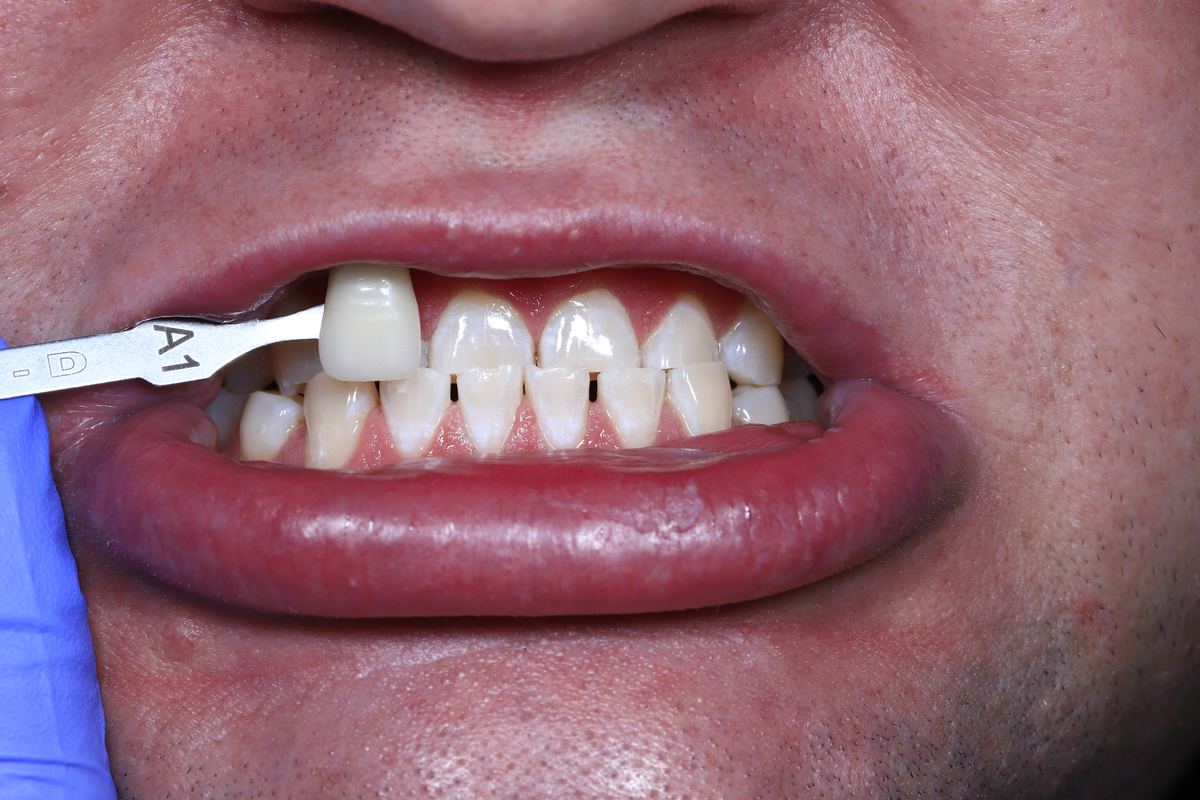
The photo with the sample is passed to the technician -
Stage 05
Check at the try-in
The finished work is compared with the neighbouring teeth and the shade guide once more — before final cementation.
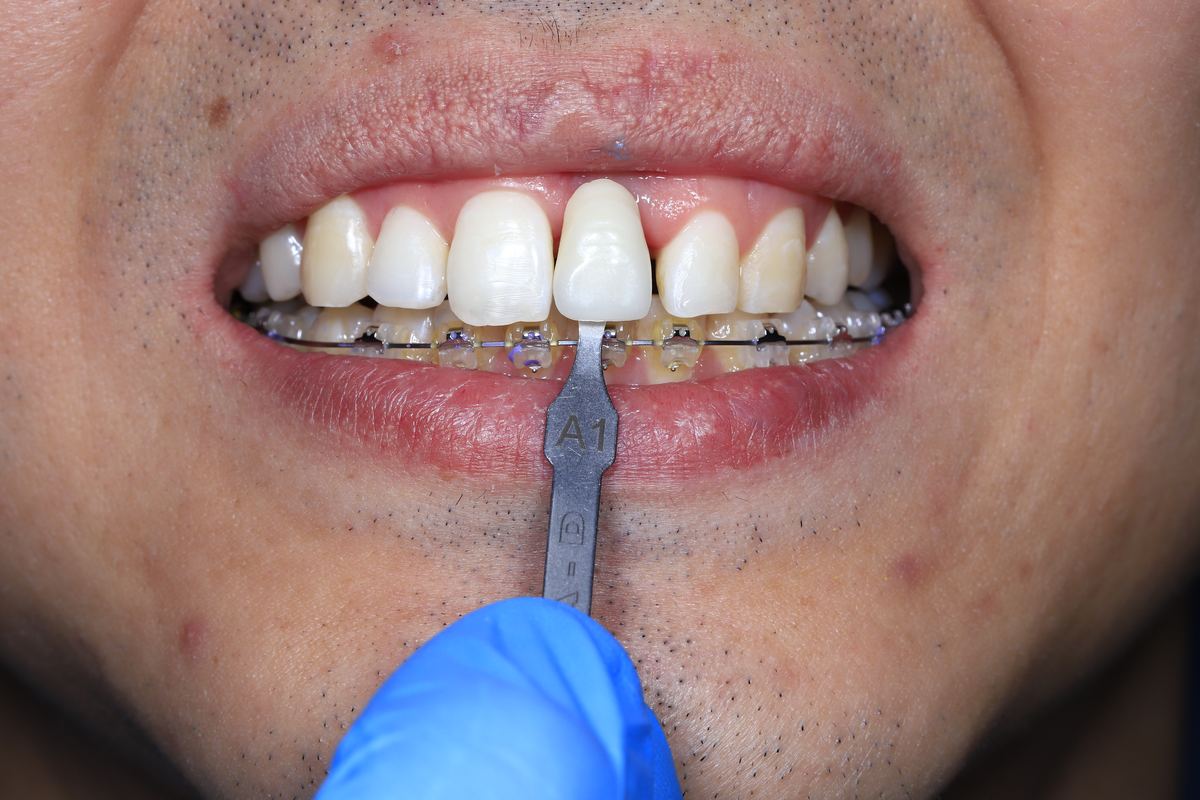
The shade is checked next to the neighbouring teeth
03 / Gallery
What it looks like
Images from the clinic's photo protocols: different shades and stages of shade matching.
04 / Prices
Where shade matching is needed
There is no separate item for shade matching in the price list. Shown here are the prices of the work for which the shade is matched.
Full price list05 / Questions
Frequently asked questions
Can a crown be made whiter than my own teeth?
Yes, but a single light tooth will be noticeable. If you want a lighter result, you can first whiten your own teeth and then match the colour of the restorations to the new shade.
Why is the colour checked several times?
The shade depends on the lighting, the moisture of the enamel and the neighbouring teeth. That is why it is chosen before fabrication and checked at the try-in of the finished work.
Why photograph the teeth with the shade guide?
The technician in the laboratory works without the patient. A photo with the sample next to the tooth helps convey the shade and translucency more accurately.
Is the colour of a filling matched too?
Yes. Composite materials come in different shades, and for front teeth they are matched the same way — against the shade guide.
Start with a consultation
Consultation and examination by a doctor — 150 000 UZS. The doctor will draw up a treatment plan and tell you the exact cost.